Chocolate defines the season. Forget those store-bought, waxy squares that taste like cardboard and disappointment; they lack the soul and depth required for a true October celebration. When you craft these brownies from scratch, you move from a mediocre snack to a decadent, melt-in-your-mouth experience that anchors the entire party table.
Imagine the scent of toasted cocoa filling your kitchen while you carefully carve out eerie shapes and swirl neon frosts across a dark, chocolatey canvas. These brownies aren’t just desserts; they are a tactile project that transforms a simple baking afternoon into a creative haunt, ensuring every bite feels like a celebratory event.
- ●The texture is an intentional hybrid of a cake and a truffle, providing maximum richness.
- ●Customizable decorations allow you to tailor the spookiness to your specific crowd.
- ●One-bowl preparation minimizes the cleanup, leaving more time for decorating.
- ●The deep cocoa profile balances perfectly against the sugary sweetness of the frosting.
- ●They remain moist for days, making them ideal for advance party planning.
Essential Ingredients |
Unsalted Butter provides the essential fatty base that ensures a velvety mouthfeel. Swap for coconut oil if you prefer a dairy-free alternative.
Semi-sweet Chocolate delivers the primary depth of flavor and a classic bittersweet edge. White chocolate chips can be used for a sweeter, creamier contrast.
Granulated Sugar creates the characteristic crackly top and stabilizes the structure. Brown sugar works well here if you want a deeper, molasses-like undertone.
Large Eggs act as the binding agent and provide the lift necessary for a fudgy consistency. Flax eggs are a viable substitute for vegan bakers.
All-purpose Flour gives the brownie its necessary shape without making it too cake-like. Almond flour provides a denser, nuttier gluten-free option.
Cocoa Powder intensifies the dark chocolate hue and flavor profile. Dutch-processed cocoa yields a smoother, less acidic taste.
It is pure chocolate magic.
 Let’s Make it Together |
- First, go ahead and preheat your oven to 350°F and line your baking pan with parchment paper so nothing sticks.
- Now, melt your butter and chocolate together in the microwave in short bursts, stirring in between until it’s a smooth, glossy pool.
- Whisk in your sugar and then crack in the eggs one by one, beating them well until the batter looks shiny and rich.
- Gently fold in your cocoa powder and flour using a spatula—just stir until the streaks of white disappear so you don’t overwork it.
- Pour that gorgeous batter into the pan and smooth it out with your spatula to get an even layer.
- Slide it into the oven and bake for about 25 minutes, but keep an eye on it; you want the center to be just barely set.
- Let them cool completely before you start adding your spooky frostings or candy eyeballs, otherwise, your decorations will melt right off.
Overbaking is the enemy of the fudgy texture, so pull the pan out when a toothpick has a few moist crumbs.
Using room temperature eggs prevents the melted chocolate from seizing or separating during the mixing process.
Parchment paper is mandatory here because these brownies are too rich to risk sticking to the pan.
Avoid over-mixing the flour, as too much air will turn your fudgy treat into a dry chocolate cake.
Chill the brownies in the fridge for an hour before cutting to get those perfectly sharp, professional edges.
Perfecting the Cooking Process |
Maintaining a steady 350°F is critical because uneven heat leads to burnt edges and a raw center. Use an oven thermometer if you suspect your appliance runs hot, as a five-degree difference can alter the final texture from fudgy to cakey.
Timing is everything when it comes to the “toothpick test.” You are looking for moist crumbs attached to the stick, not a clean exit. If the toothpick comes out clean, you have likely cooked the moisture out, resulting in a drier brownie.
Add Your Touch |
For a more adult-centric version, stir in a pinch of espresso powder or a dash of cinnamon. This enhances the natural chocolate notes and adds a sophisticated warmth that cuts through the sugar.
Experiment with the visual elements and purple food coloring to your frosting. You can also press pretzels into the top before baking to create “skeleton bones” for an added salty crunch.
Storing & Reheating |
Keep these brownies in an airtight container at room temperature for up to four days. If you’ve added a perishable frosting, it’s safer to store them in the refrigerator to keep the decorations stable.
To bring back that fresh-from-the-oven warmth, pop a square in the microwave for exactly 10 to 15 seconds. This softens the fats and makes the chocolate gooey without melting the structure entirely.
1Sift your cocoa powder and flour together to eliminate lumps for a perfectly smooth batter.
2Add a pinch of sea salt on top immediately after baking to balance the intense sweetness.
3Use a plastic knife for cutting the brownies to avoid the batter tearing or sticking.
4Whisk the eggs and sugar vigorously to create a thin, shiny crust on the top layer.
5Allow the brownies to cool for at least two hours before applying any heavy decorations.
FAQ |
- ●Q: How do I prevent the brownies from sticking to the pan?A: The most effective method is using a high-quality parchment paper sling that hangs over the sides of the pan. This allows you to lift the entire block of brownies out at once, ensuring every corner is preserved without any crumbling.
- ●Q: Can I make these brownies vegan?A: Yes, you can substitute the butter with refined coconut oil and replace the eggs with a commercial egg replacer or a mixture of ground flaxseed and water. Just be aware that the texture may be slightly denser and less “springy” than the original.
- ●Q: Why did my brownies come out cakey instead of fudgy?A: This usually happens if you over-mix the batter or bake them for too long. Over-mixing develops too much gluten in the flour, while over-baking removes the fat and moisture that create that signature dense, fudgy consistency.
- ●Q: What is the best way to get clean cuts?A: Chill the brownies in the freezer for 20 minutes before slicing them. Use a hot knife, wiping it clean between every single cut to ensure the chocolate doesn’t drag and create messy edges on your spooky squares.
- ●Q: Can I use a different type of chocolate?A: You can certainly use dark chocolate for a more bitter profile or milk chocolate for a sweeter taste. However, dark chocolate typically provides the best structural integrity and the most striking contrast against bright Halloween decorations.
- ●Q: How do I store them if I’m making them a week early?A: Wrap the unfrosted brownies tightly in plastic wrap and freeze them in a sealed container. When you are ready to serve, thaw them in the fridge overnight and then add your spooky frosting and decorations fresh.
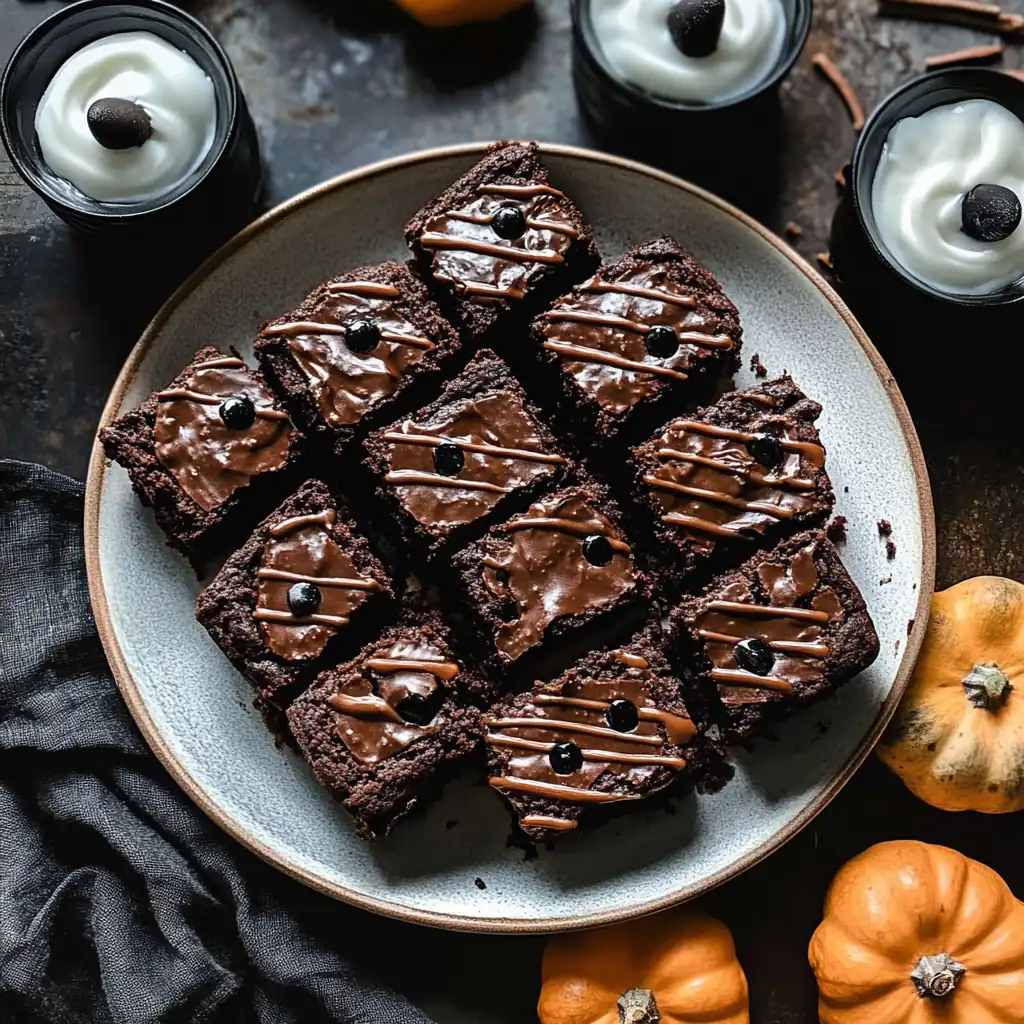
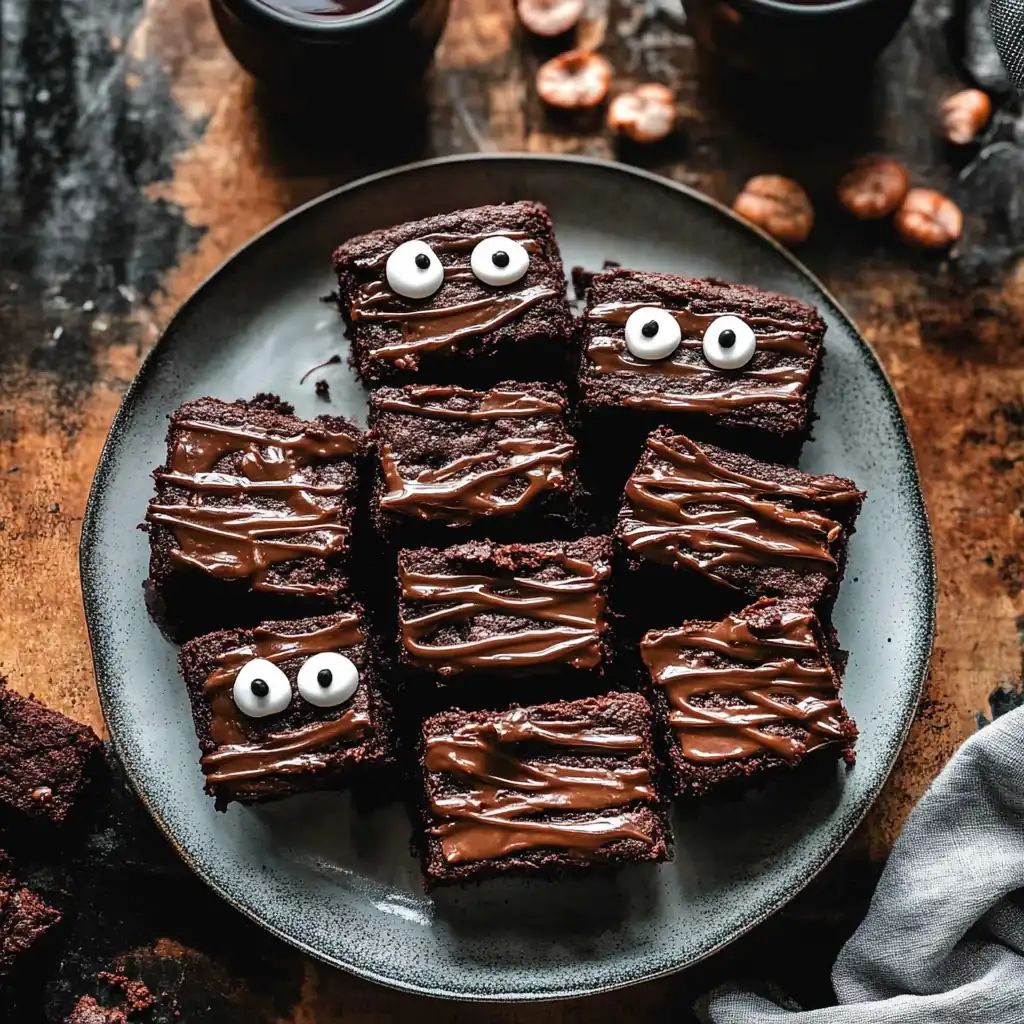
Spooky Halloween Brownies: Delightful Treats for Fun
- Total Time: 45 minutes
- Yield: 16 squares 1x
Description
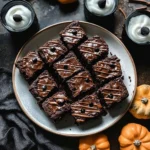
Rich, fudgy chocolate brownies decorated with spooky themes, perfect for Halloween parties and trick-or-treaters.
Ingredients
- 1/2 cup unsalted butter, melted
- 1 cup semi-sweet chocolate chips
- 1 cup granulated sugar
- 2 large eggs
- 1/2 cup all-purpose flour
- 1/3 cup cocoa powder
- 1/4 tsp salt
- Halloween frosting and candy for decorating
Instructions
- Preheat oven to 350°F and line an 8×8 pan with parchment paper.
- Melt butter and chocolate chips together until smooth.
- Stir in sugar and eggs until the mixture is glossy.
- Fold in flour, cocoa powder, and salt until just combined.
- Spread batter evenly in the prepared pan.
- Bake for 25 minutes or until a toothpick has moist crumbs.
- Cool completely before decorating with spooky frosting and candies.
- Prep Time: 20 minutes
- Cook Time: 25 minutes
- Category: Dessert
- Method: Baking
- Cuisine: American